Difference between revisions of "Website Shortcut"
(Created page with " == Creating a Website Shortcut == '''This article is about how to create a clickable desktop shortcut to any website using Google Chrome.''' 1. Click the blue "OES Login" ic...") |
(No difference)
|
Revision as of 19:58, 24 July 2017
Creating a Website Shortcut
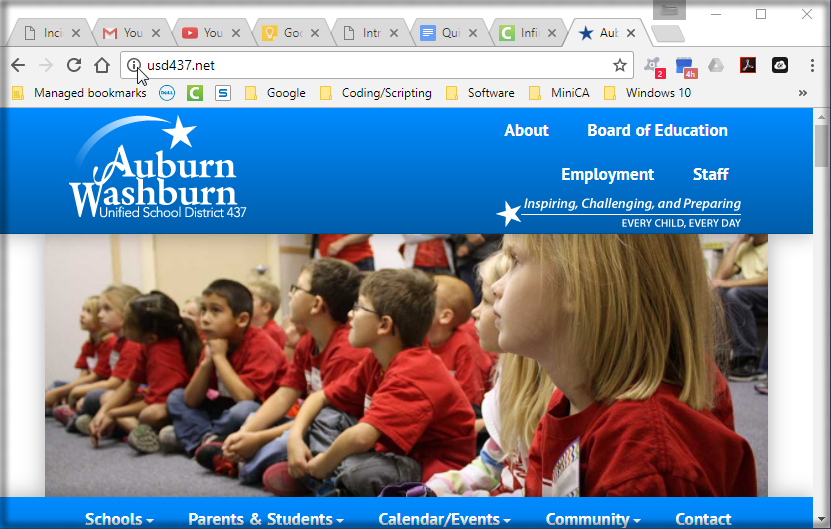
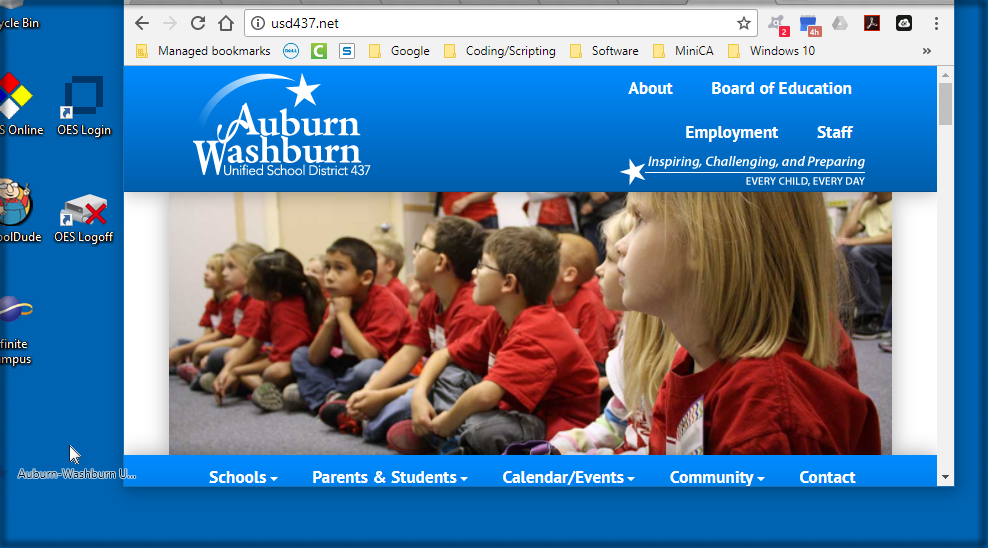
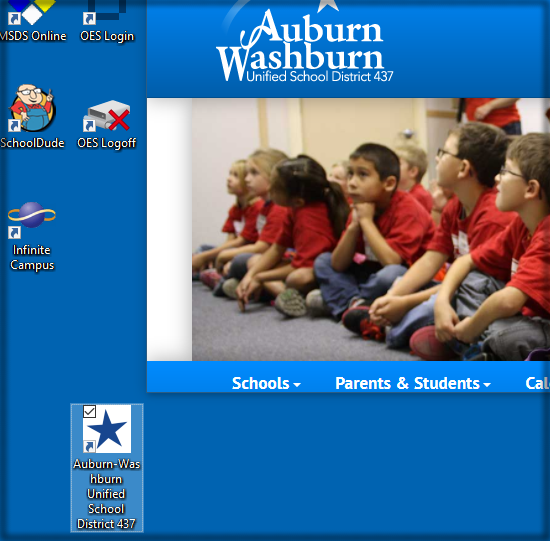
This article is about how to create a clickable desktop shortcut to any website using Google Chrome.
1. Click the blue "OES Login" icon on your desktop. Your username will be the first 5 letters of your last name followed by the first three letters of your first name. It is normal for your username to automatically capitalize itself. This means both that your computer is connected correctly to the internal network, and that the username you have entered is a valid username on our system.
DO NOT put @USD437.net on this login.
2. Once you have successfully logged in to OES, you can access whichever network drives your position has access to. To access the network drives, click on the folder icon in the lower left corner of your screen next to the start menu. This opens the file explorer. You can navigate to whichever drive you need from here. The "H:" drive is your dedicated space to store files accessible from your login on the network. This is handy at the end of the year, as we wipe the local hard drive of every laptop and desktop in the district clean for a fresh installation over the summer. Files stored on your "H:" drive are not subject to this deletion, and will remain on the network for use the following year.
3. If you need to logout your access to the network drives, you can double click the "OES Logoff" shortcut on the desktop. This will remove any access to any network drives accessible using your login. Shutting down the computer will also log you out of OES, so rebooting your computer will require you to log back to OES if you need access to the network drives.
If you do not have access to a network drive you feel you should have access to, please have your supervisor put in a IT Helpdesk Support ticket via SchoolDude requesting access.


