Orienting Your SMARTboard
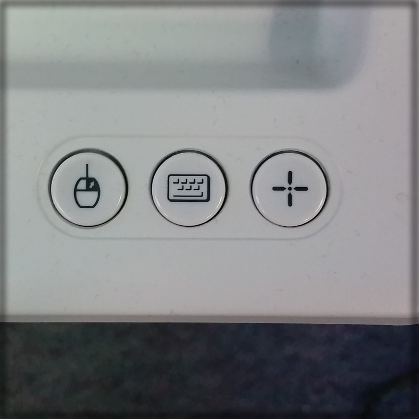
To orient your SMARTboard after establishing connectivity, press and hold both the "keyboard" key and the "right-click" key on the front of your SMARTboard until the screen changes to the grey screen with the calibration reticule on it.
Note: Newer board may just have a button with the targeting reticule (pictured below) on in that would need to be pressed to bring up the orientation screen, as opposed to the "keyboard" button + "right-click" button combination.
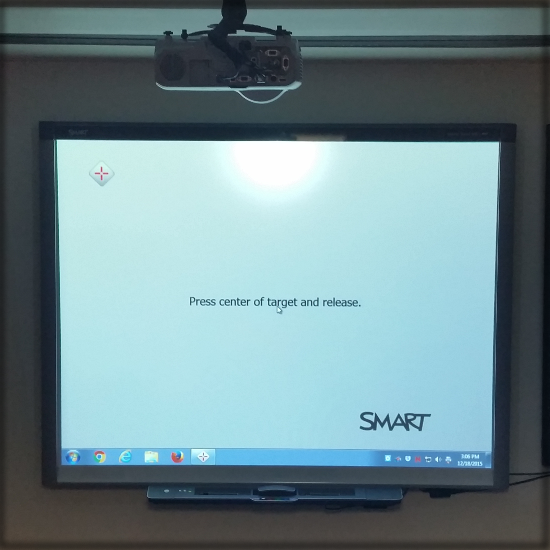
After the reticule comes on the screen, use the SMARTboard pens or your finger to touch as close to the center of the reticule as possible. You may need to do this several times based on which kind of board you have, as well as your particular system settings.
Once the last reticule has been pressed, the screen will go back to its normal projection, becoming unresponsive to touch for a few seconds while the settings save, then should behave normally. After this point, any independent movement of the SMARTboard or projector will cause the board orientation to skew, and the board will need to be oriented again.

