How-To Use Teacher Messenger
Teacher Messenger
If you are wanting to utilize the Grades Message or Missing Assignment Message tools, please verify that your building does not already send these messages out for everyone. This way parents are not receiving the same information from multiple sources.
Creating a New Message
In Campus Instruction go to Message Center and click the New button.
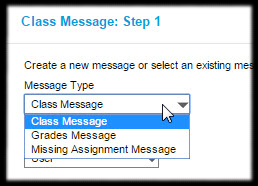
Select the Message Type
Select the Delivery Devices you wish parents to receive the message on. Inbox = Campus Portal Email = the email account they have provided us with and flagged to receive messages from teachers.
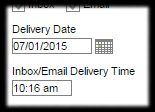
If desired you can set the date and time the message will go out. By default it is set to the current date/time.
If you selected Email as a Delivery Device you will need to change the Sender’s Email to your district email address.
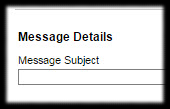
Enter a Message Subject. This is the same as the Subject line in an email.
If you selected Email as a Delivery Device you can attach a document to the message. Note that if you are also sending to Inbox the attachment will not be available to those reading the message in Campus Portal.
Enter your message in the Message Body.
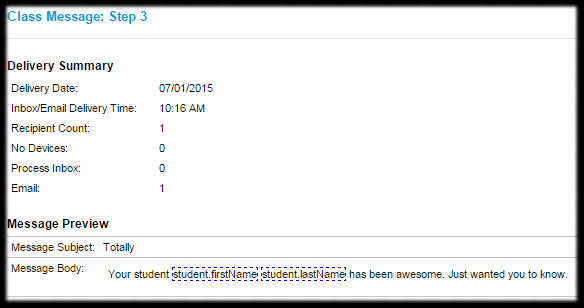
If you would like to tailor the messages to be unique for each student you may add Campus Fields. Click on the F in the green square to access these fields. Once selected a Campus Field will appear in the text surrounded by a blue dotted line.
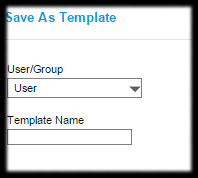
If you think you may send this same message again you can save it to your account. Click the Save As button and enter a name for the template. Then click Save. If you want to save it so your colleagues can also access it you can change the User/Group as well.
Click Next
To select who should receive this message you can select All recipients from selected sections or Specific recipients from selected sections.
You must also select if the message is going to Guardians and/or Students. If you selected the option of “All recipients from section(s)” you also have the option to send to both Guardians and Students. If you selected the option of “Specific recipients from section(s)” you must choose either Guardians or Students. Please note that only students in grades 3 and up have their district email address setup to receive Teacher Messenger messages.
Once you’ve selected your recipients click Next.
The final screen is the Delivery Summary. It gives you a count of recipients, when the message will be sent, and a generic view of your message.
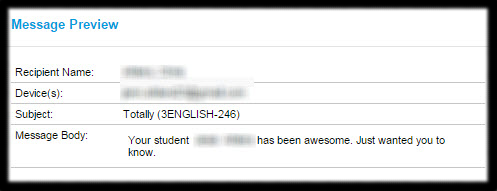
You can click the “Review Recipients” button to see who exactly will receive the message and preview the message for specific people.
Click Send when you are ready for your message to be sent.

