Connecting Your SMART Document Camera
How to Connect Your SMART Document Camera to Your Computer
This article will help you connect your SMART Document Camera to your laptop and projector.
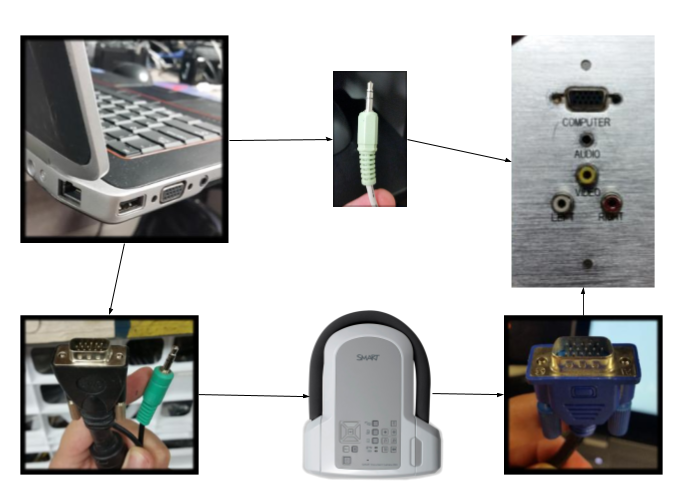
*Here is a quick-reference flowchart for how everything is connected. Please continue the article below for a more detailed step-by-step guide.
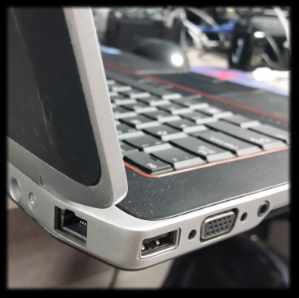
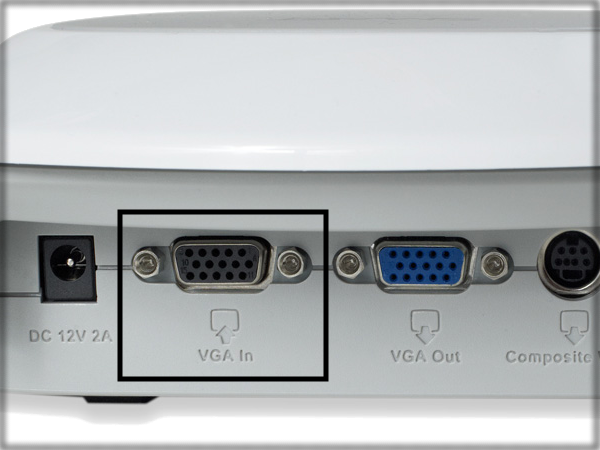
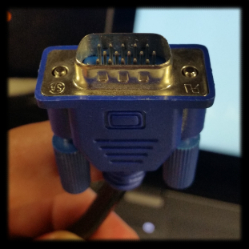
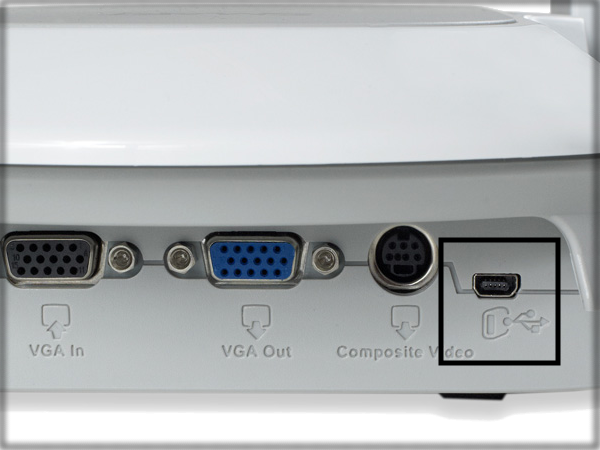
1. Connect one end of your VGA cable to your computer normally. Connect the other end of your VGA cable to the black VGA port on the back of the SMART Document Camera labeled "VGA In", pictured below.
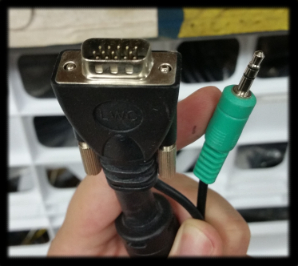
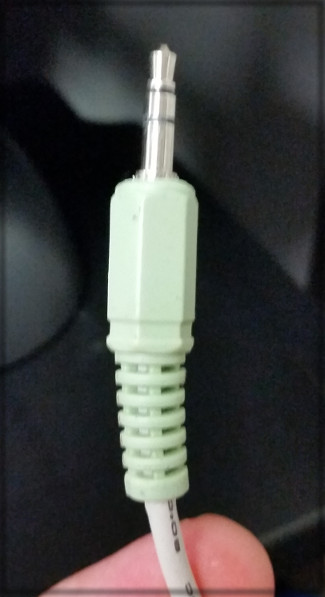
*Special Note - If you have a VGA cable with audio, as shown in the picture below, connect this cable between your laptop and your SMART Document Camera, and connect a VGA cable without an audio cable between the document camera and the wall jack.
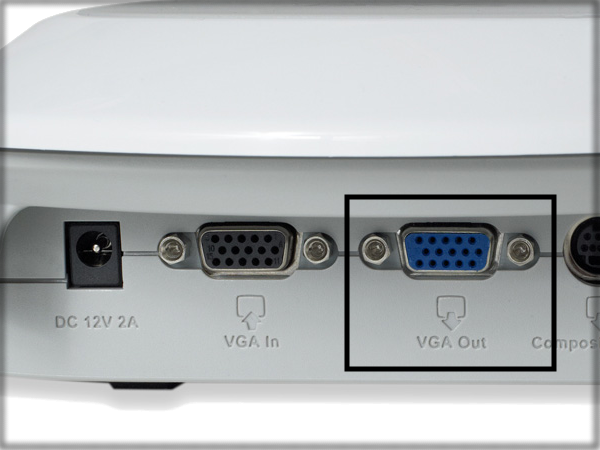
2. Connect a VGA cable from the port on the back of your SMART Document Camera labeled "VGA Out" to the VGA port on your wallplate by your desk.
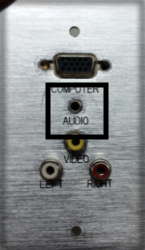
3. If you used a VGA cable with audio in step one, plug the 3.5mm audio end nearest where you plugged the VGA connector into your laptop's headphone jack. You'll need a 3.5mm audio extension cable to connect the other end to your wallplate.
If you only have VGA cables without integrated audio, or if you do not have an extension cable, you will need a separate 3.5mm audio only cable to connect your laptop's headphone jack directly to the wallplate either cable is 6 feet long, so plan your layout accordingly.
4. Connect the provided USB cable from the port on the back of the SMART Document Camera shown below to any available USB port on your computer, including a USB hub if you have one connected.
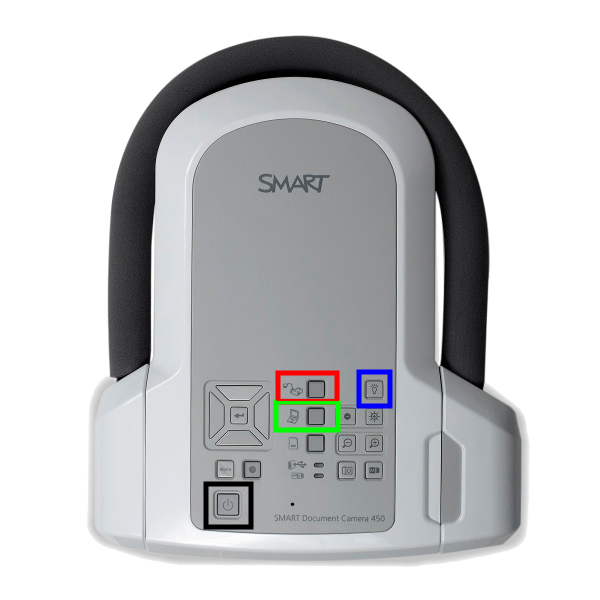
5. At this point, your SMART Document Camera should be fully connected. In the image below, press the power button(highlighted in black) to turn the document camera on. If you plan on using your projector, your document camera will need to be on to show either your computer display or the output from the SMART Document Camera. Press the Document Camera button(highlighted in red) to project the document camera. Some models also come with a light for use with the Document Camera mode(highlighted in blue). Press the computer button (highlighted in green) to project your computer display in "Pass-Through" mode.
