Office 2013 Issues
SMART Ink on Office 2013
There is a known issue regarding not being able to type on a new document in Office 2013. There are two known resolutions depending on the configuration of software and add-ons on your computer. Try the following fixes in order.
Repairing Your SMART Ink Installation
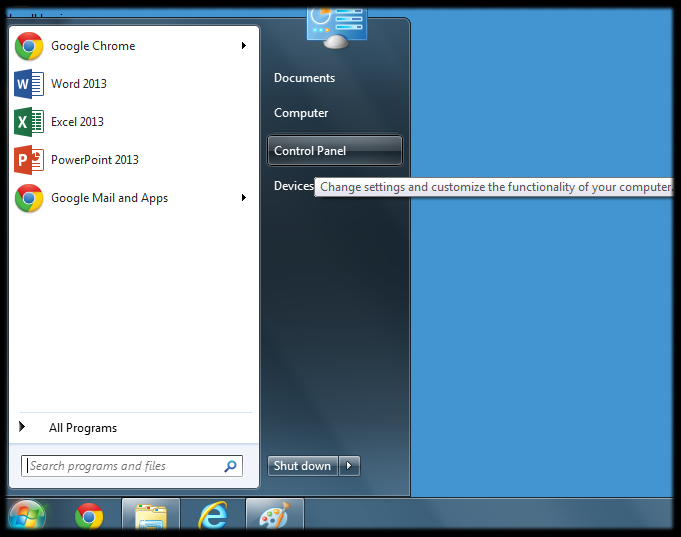
1a. Click on the Start Menu and open your Control Panel.
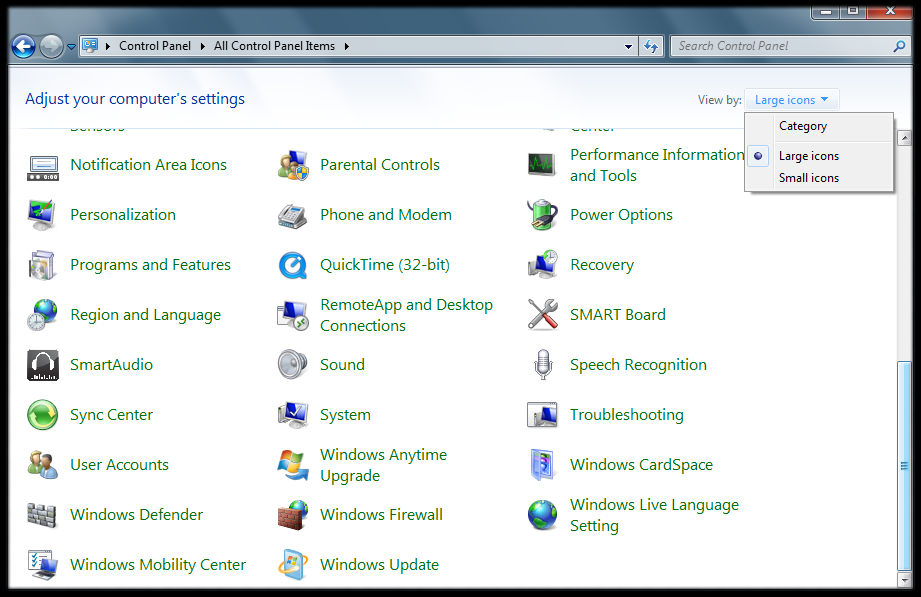
2a. Once your control panel is open, click on the "View By: " option in the upper right-hand corner of the window. Choose "Large Icons" from the drop down. Now that you can see all the options, select "Programs and Features". If you cannot see any, or only a few options, please submit a IT Helpdesk Support ticket via SchoolDude.
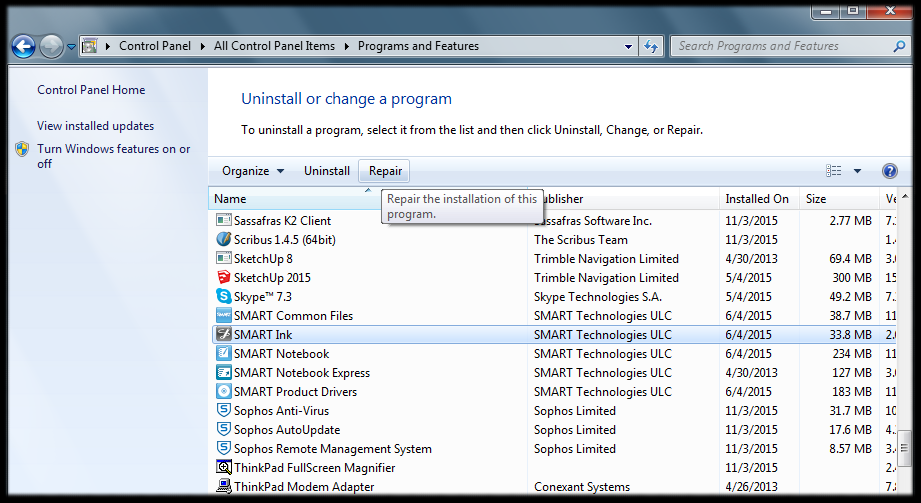
3a. Once the "Programs and Features" window opens up, you will need to wait a few seconds for the list to populate. Once loaded, scroll down the list and highlight "SMART Ink" by clicking on it once. Then, click the "Repair" button on the upper part of the window as outlined in the picture below.
Once the repair has ended, try to open a new Word document. If you are able to type, you should be all set. If you are not, or if you have done this repair and it worked for a while, only to later revert to not allowing you to type on a new document, you may need to disable SMART Ink in office. To do this, follow the steps outlined below.
Disabling SMART Ink in Office 2013
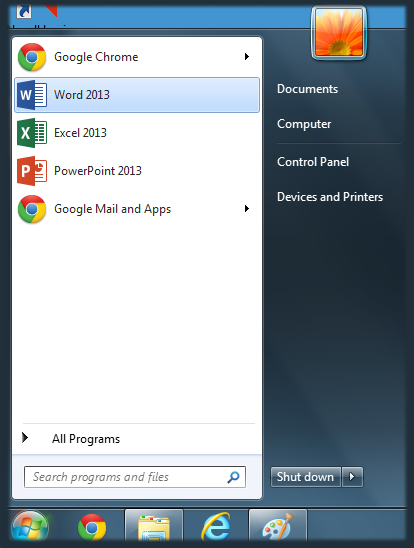
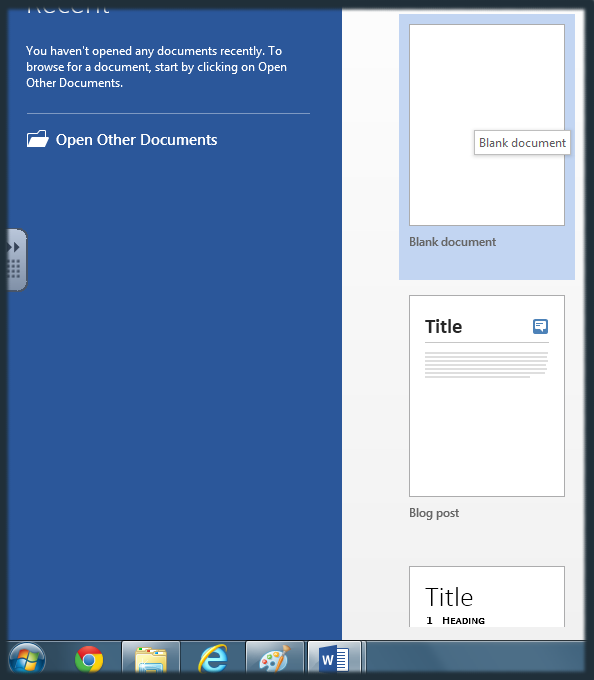
1b. Click on the Start Menu, then click on Word 2013.
2b. Click on "Blank Document" on the template select screen.
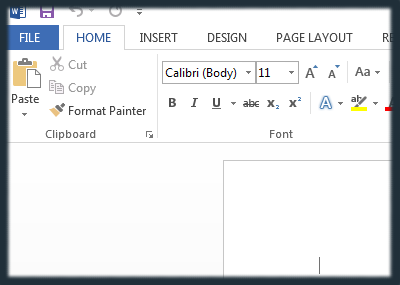
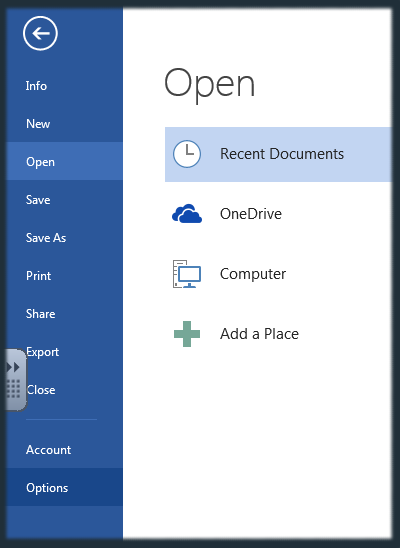
3b. Click on the "File" Menu.
4b. Click on "Options".
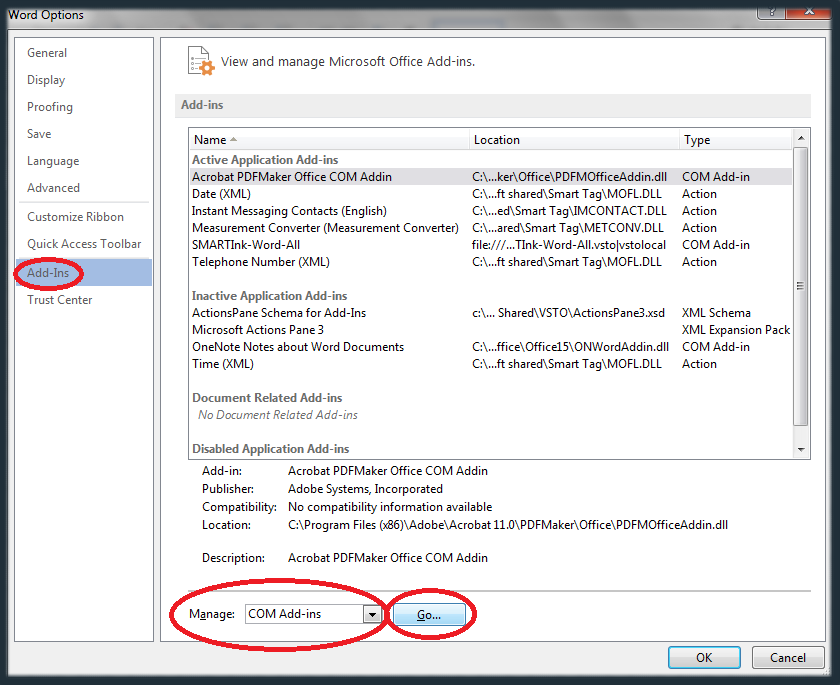
5b. In the "Options" window, select, in order, "Add-Ins", then in the "Manage" drop down, select "COM Add-Ins", then click "Go". These three items have been highlighted in the image below to make them easier for you to find.
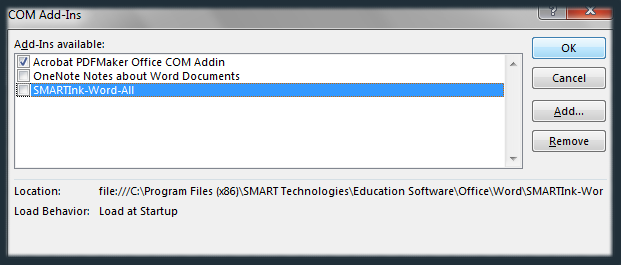
6b. Uncheck the box marked "SMARTInk-Word-All", then click OK.
At this point, you should be able to use Word 2013 normally.
If you are still having issues, please let us know by filling out an IT Helpdesk Support ticket via SchoolDude
