Difference between revisions of "Access Home Directory"
(→Accessing Your Home Directory from Home) |
(→Accessing Your Home Directory from Home) |
||
| Line 37: | Line 37: | ||
3. At the top of the right panel click File. | 3. At the top of the right panel click File. | ||
| − | [[File: | + | [[File:Home_Directory_File.jpg]] |
4. Select Download. | 4. Select Download. | ||
| Line 56: | Line 56: | ||
3. At the top of the right panel click File. | 3. At the top of the right panel click File. | ||
| − | [[File: | + | [[File:Home_Directory_File.jpg]] |
4. Select Upload. | 4. Select Upload. | ||
Revision as of 19:22, 16 March 2020
Accessing Your Home Directory from Home
Access your home directory from home.
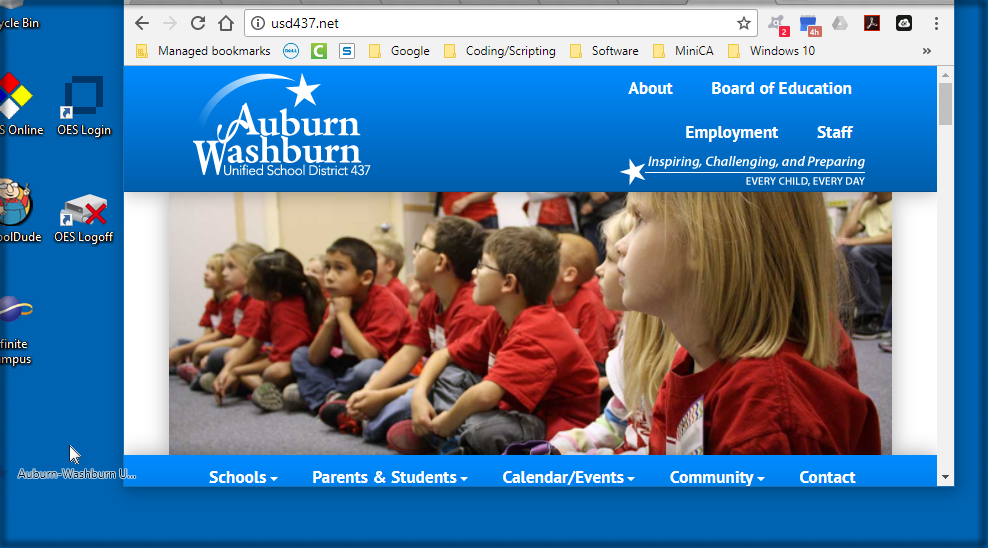
1. Go to usd437.net.
2. Click Staff in the top right corner of the page.
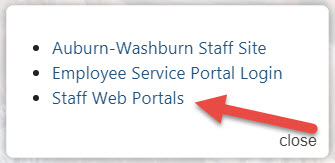
3. Select "Staff Web Portals".
4. Locate & select the link for "Home Directory Access".
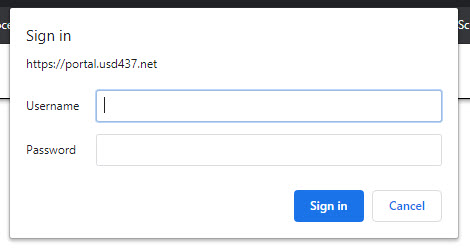
5. Sign in with your OES account information.
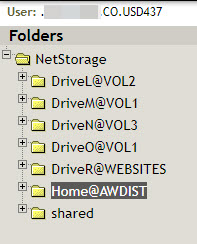
6. You should see all of the drives you have access to listed.
7. Home@AWDIST is your home directory.
Work on a file
1. Navigate to where the file is located by using the folders on the left-hand side of the screen.
2. On the right panel of the screen check the box of the file you want to work on.
3. At the top of the right panel click File.
4. Select Download.
5. Once the file has downloaded you can open and work on it.
- Note that if you are not using your district laptop you may not have the program needed to edit some files.
Save a file
1. After working on your file locally make sure you have saved it.
2. To save it to your drive you'll need to upload it.
3. At the top of the right panel click File.
4. Select Upload.
5. A small window will open asking you to navigate to the file you want to upload.
6. Click Choose File and navigate to where you have the file saved on your computer.
7. By default the "Overwrite existing files" checkbox is checked If this is a new file or if you want to keep the original file uncheck this box.
8. Once you're ready click Upload.


