Difference between revisions of "Changing OES Password"
| Line 5: | Line 5: | ||
'''This article will help you change your password for OES/Gmail.''' | '''This article will help you change your password for OES/Gmail.''' | ||
| − | :Your password for OES and Gmail are linked to your district login. | + | :Your password for OES and Gmail are linked to your district login. The steps below outline the proper way to change your password for your district OES and Gmail login. IF you've forgotten your password, scroll down or [[place_holder|Click Here]] |
| − | '''Do not change your password by going through the Gmail password reset, as this will create an issue with your account | + | '''Do not change your password by going through the Gmail password reset, as this will create an issue with your account synchronization.''' |
1. Open your Google Chrome browser. Click on the icon with three dots(also called the snowman) in the upper right corner. Mouse over bookmarks, then click on "Bookmark Manager". As a shortcut, you can also just press Control+Shift+O (the letter). | 1. Open your Google Chrome browser. Click on the icon with three dots(also called the snowman) in the upper right corner. Mouse over bookmarks, then click on "Bookmark Manager". As a shortcut, you can also just press Control+Shift+O (the letter). | ||
Revision as of 16:05, 28 July 2017
How to Change Your OES/Gmail password
This article will help you change your password for OES/Gmail.
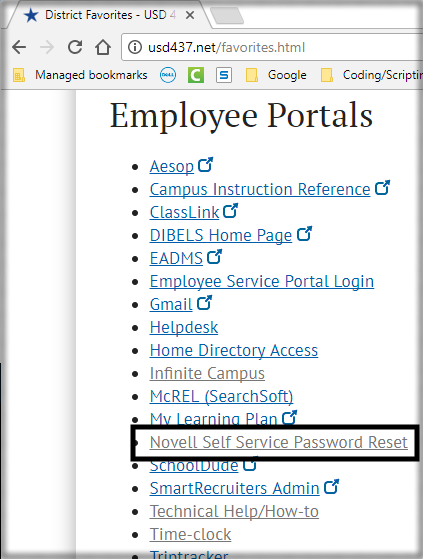
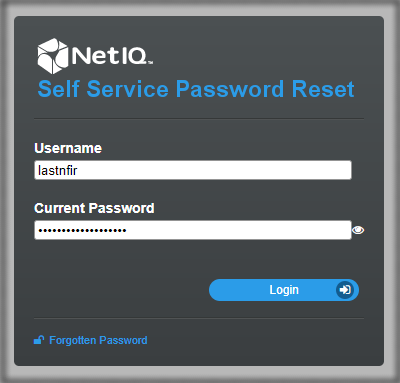
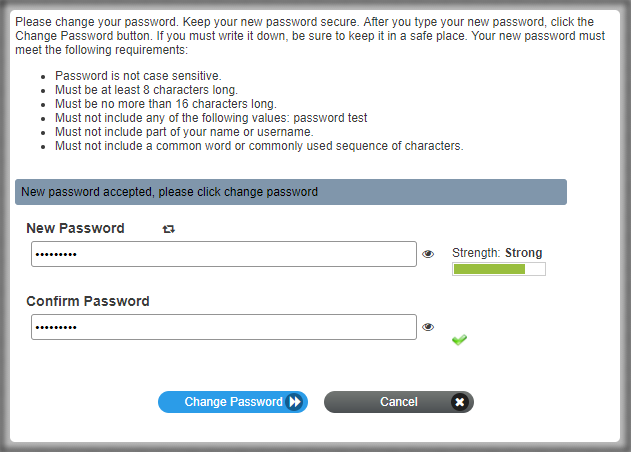
- Your password for OES and Gmail are linked to your district login. The steps below outline the proper way to change your password for your district OES and Gmail login. IF you've forgotten your password, scroll down or Click Here
Do not change your password by going through the Gmail password reset, as this will create an issue with your account synchronization.
1. Open your Google Chrome browser. Click on the icon with three dots(also called the snowman) in the upper right corner. Mouse over bookmarks, then click on "Bookmark Manager". As a shortcut, you can also just press Control+Shift+O (the letter).
2. In the Bookmark Manager, click on "Organize", then click on "Export bookmarks to HTML file...".
*Make sure to click export at this point. Clicking import will not give you the correct options.
3. At the windows "Save As" prompt, save the file to your "H:" drive. This will save your bookmarks as a file on the network. This way, if your computer has an unrecoverable failure, or if you want to keep your bookmarks over the summer, you'll have a copy on the network.
Importing a saved bookmarks file
1. Follow the steps above to get to the "Bookmark Manager". Once there, click on "Organize", then "Import bookmarks from HTML file...".
1. Navigate to your "H:" drive and double click on your bookmarks file. This will automatically import the bookmarks you had saved, including any folders and shortcut names.


