Difference between revisions of "How-To Setup Seating Charts"
| Line 1: | Line 1: | ||
| + | [[#How to Create a Seating Chart - Single Class|Single Class in a single period]] | ||
| + | |||
| + | [[#How to Create a Seating Chart - Multiple Classes|Multiple Classes in a single period]] | ||
| + | |||
=How to Create a Seating Chart - Single Class= | =How to Create a Seating Chart - Single Class= | ||
Latest revision as of 18:45, 29 August 2019
Single Class in a single period
Multiple Classes in a single period
How to Create a Seating Chart - Single Class
Please note that if you have multiple classes being taught during the same period you will want to follow the steps for Multiple Classes.
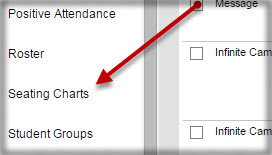
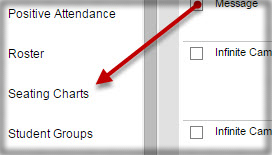
In Campus Instruction click on “Seating Charts” in the left hand menu list.
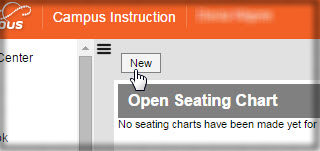
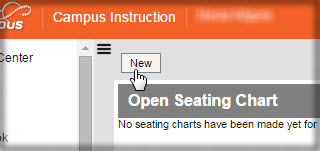
Click “New”
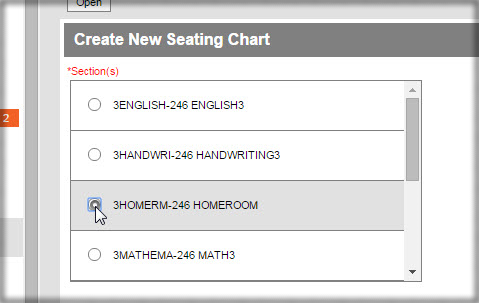
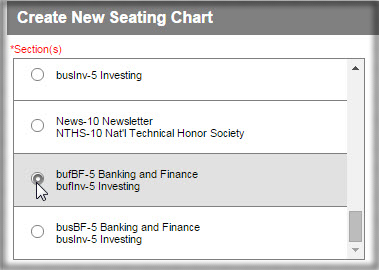
Locate the Section you want to create a Seating Chart for.
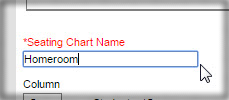
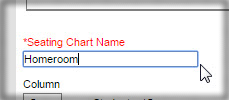
Name your Seating Chart.
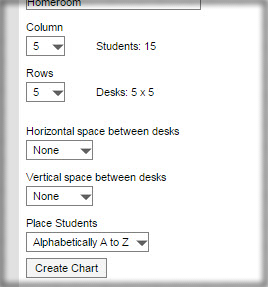
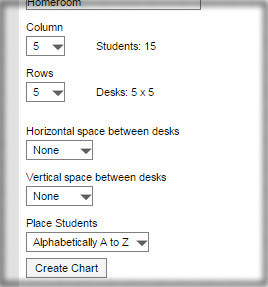
You can set some options at this time if desired, but you will be able to make changes in the coming steps.
Click “Create Chart”
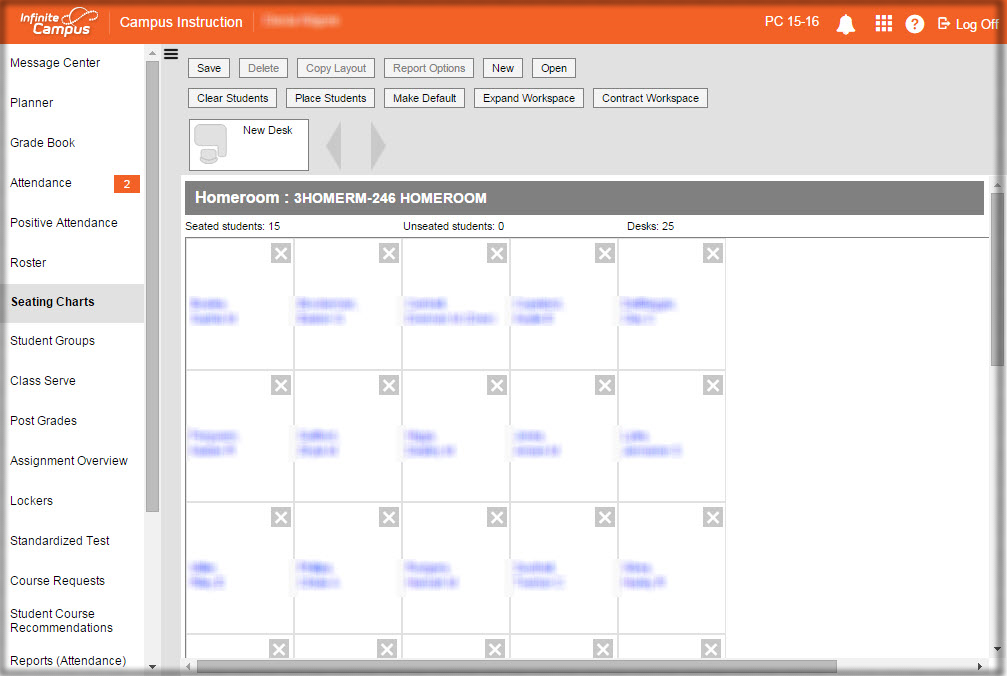
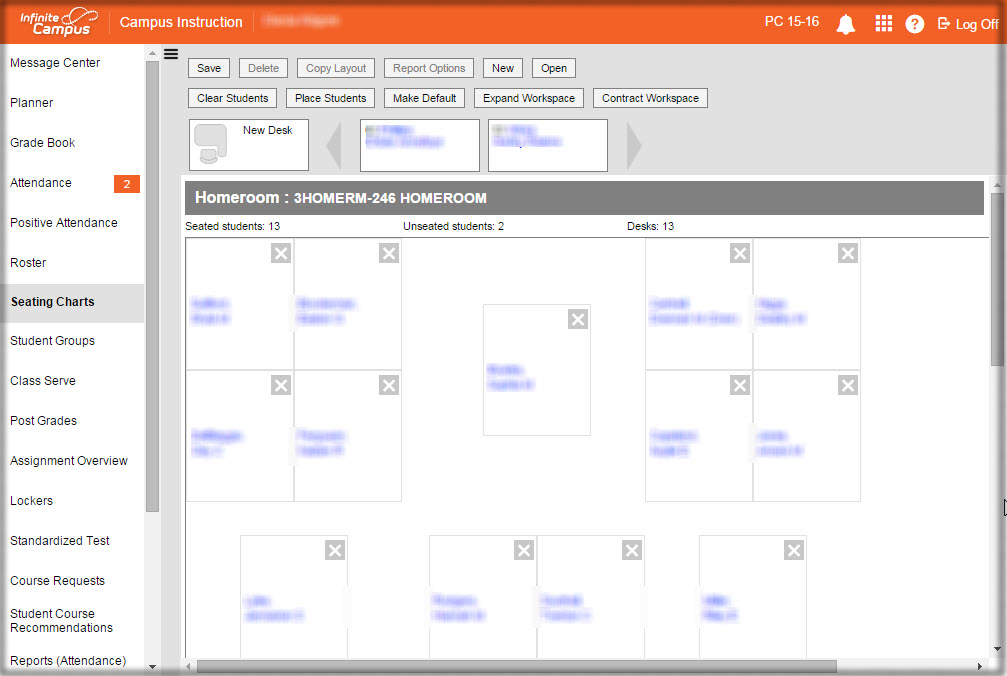
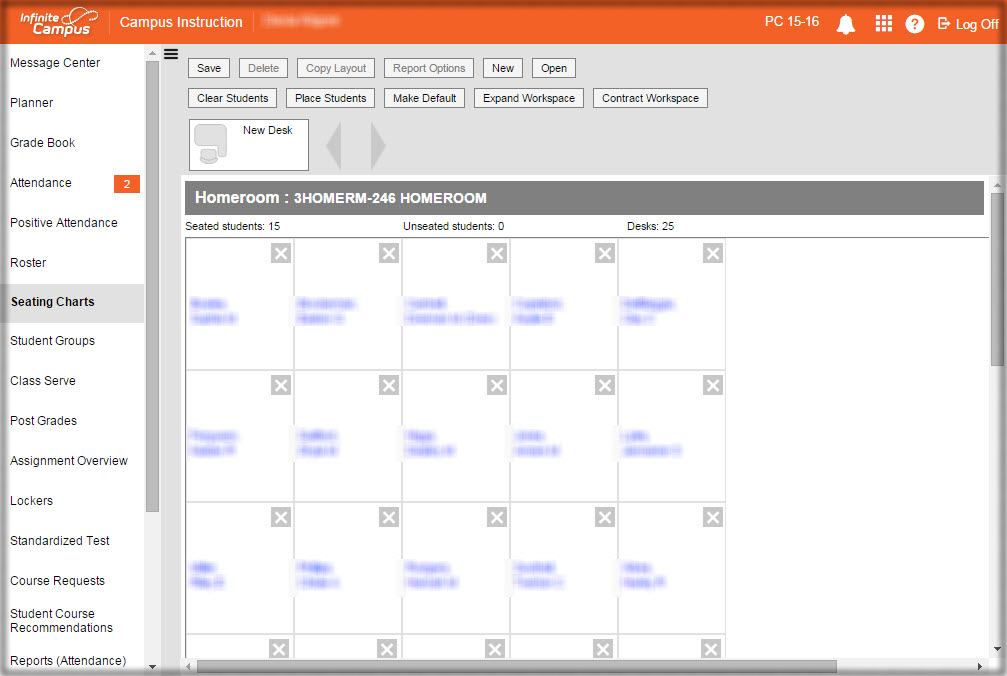
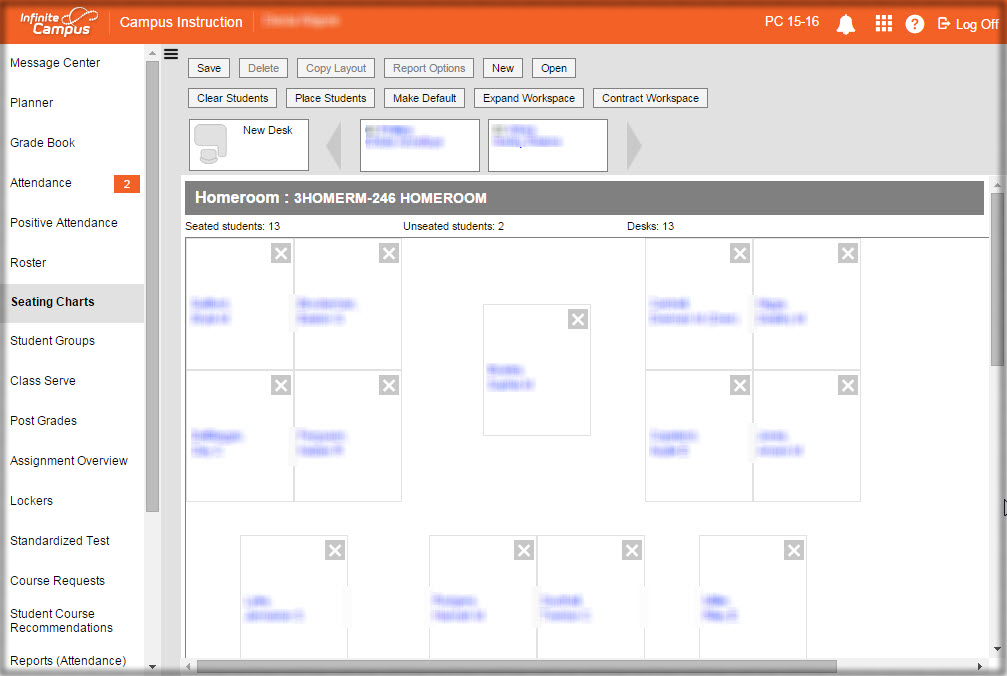
A seating chart will be setup based on the options selected on the previous screen. You can click and drag to make the desired changes. Both student names and pictures will be seen.
“Clear Students” will remove any students placed on the seating chart.
“Place Students” will automatically place students on the seating chart that have not already been placed.
“Make Default” will make the seating chart the primary chart for that section.
“Expand Workspace” will give you a larger space to work in.
“Contract Workspace” will give you a smaller space to work in.
Click “Save” when finished.
How to Create a Seating Chart - Multiple Classes
How to Create a Seating Chart - Multiple Classes Please note that if you have only have one class being taught during the period you will want to follow the steps for Single Class.
In Campus Instruction click on “Seating Charts” in the left hand menu list.
Click “New”
In the “Sections” box scroll to the bottom of the list to find the combined sections, then scroll up to find the combination that you are looking for. A combined section will list every section being taught during a single period.
Name your Seating Chart.
You can set some options at this time if desired, but you will be able to make changes in the coming steps.
Click “Create Chart”
A seating chart will be setup based on the options selected on the previous screen. You can click and drag to make the desired changes. Both student names and pictures will be seen.
“Clear Students” will remove any students placed on the seating chart.
“Place Students” will automatically place students on the seating chart that have not already been placed.
“Make Default” will make the seating chart the primary chart for that section.
“Expand Workspace” will give you a larger space to work in.
“Contract Workspace” will give you a smaller space to work in.
Click “Save” when finished.
